Vegan Sandwich Bread Recipe (Tangzhong Method)
I took some vacation days, so I don't have a packed lunch to show you. But I do have to share this new thing I learned about baking bread: The tangzhong method. (I told you I was embarking on a new adventure and baking my own bread again. You can take a look at this post to learn why.)
 This is all-white bread, but I have had success with replacing 1 cup of the all purpose flour with whole wheat flour in this recipe, too, so feel free to try that. With most breads like this you can replace up to half of the all purpose flour with whole wheat flour.
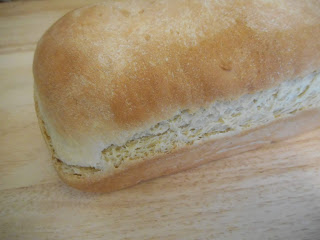
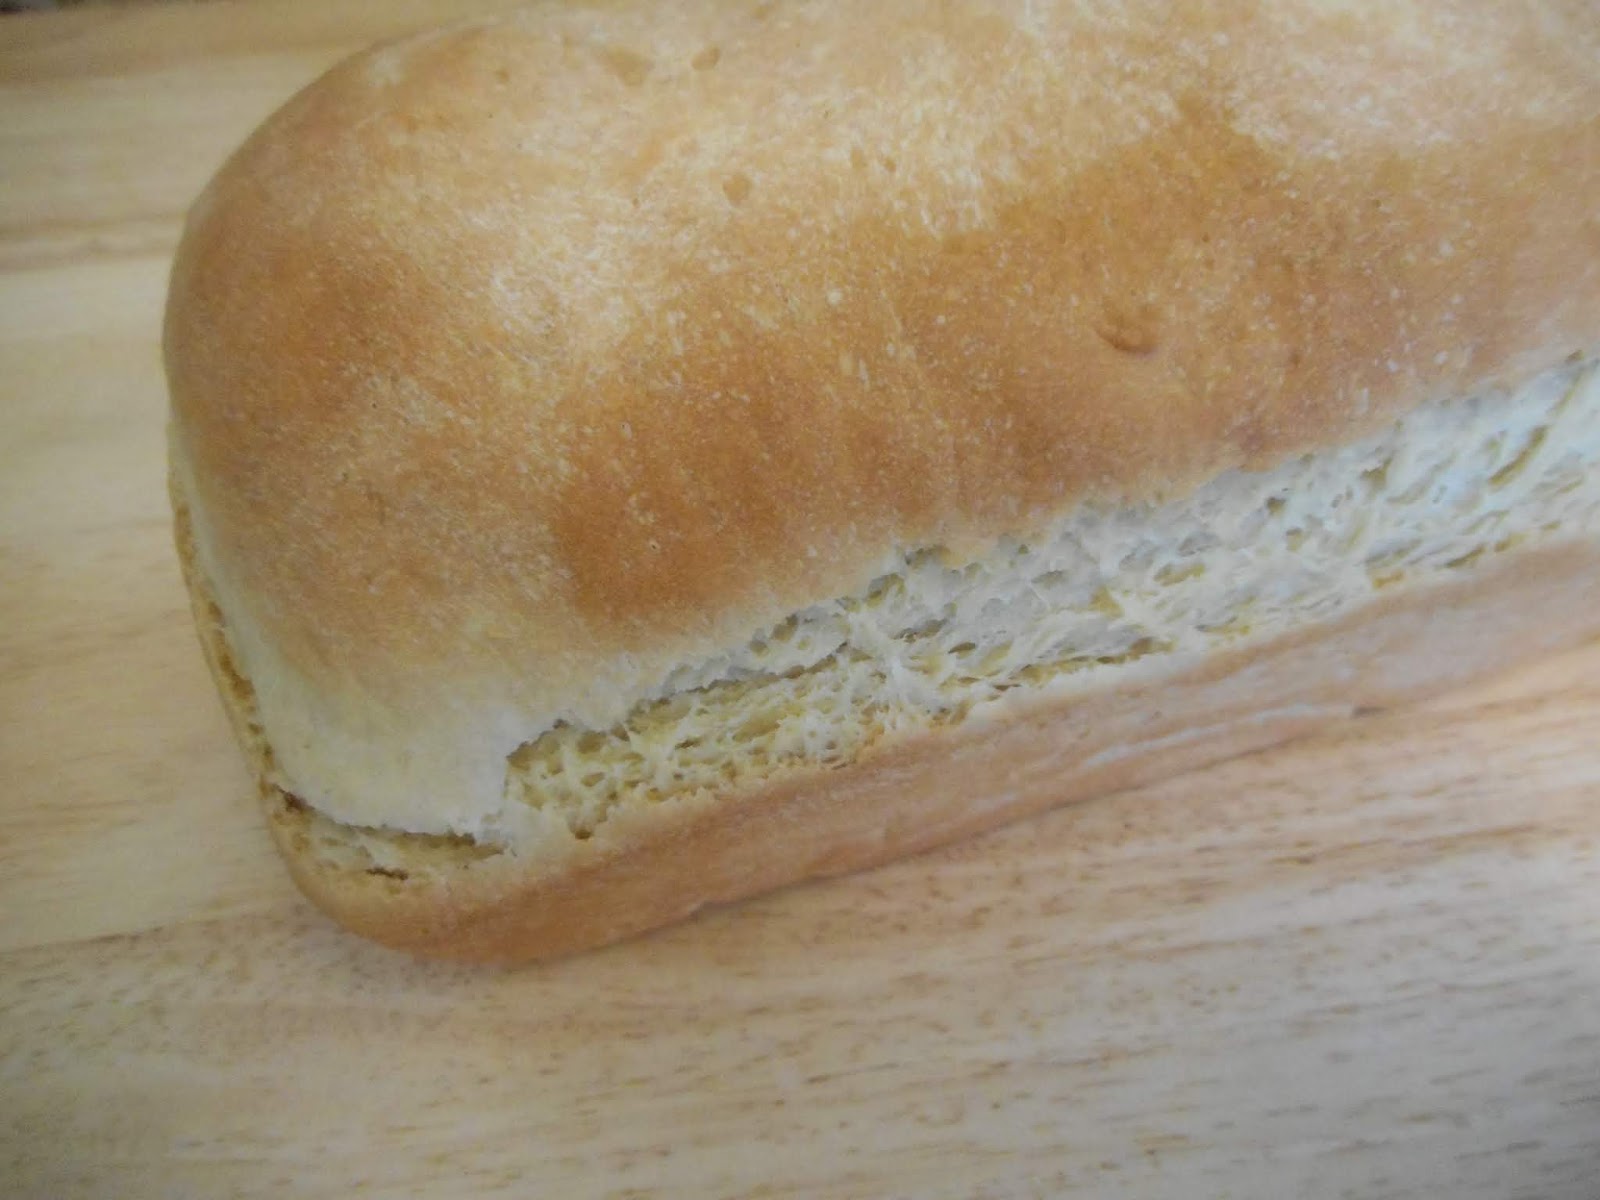
 This is not crusty bread. This is very basic sandwich bread, soft and neutral in flavor. And thanks to the Japanese method for preparing the dough (tangzhong), it will stay soft for days. Cooking a slurry of some of the liquid and some of the flour will allow the bread dough to absorb and hold onto more liquid, which will keep it fresh longer.
I used soy milk but some other plant milks should work, I think. The most promising alternative, in my opinion, is almond milk, but we're vegans; we experiment.
The recipe is inspired by King Arthur Flour, but veganized. It's hard to motivate myself to bake a loaf of bread that goes stale really quickly, but I believe baking your own bread is worth it when you try this. I kept this bread at room temperature for 7 days and it was still soft, if not quite as soft, as the day I baked it. It changed in texture slightly but in a way I appreciated, rather than in a way that made me want to make bread pudding.
Vegan Sandwich Bread (Tangzhong Method)
Yield: 1 loaf
1 cup + 3 tablespoons soy milk, divided
3 cups all purpose flour, divided (or use 2 cups all purpose flour and 1 cup of whole wheat flour to make wheat bread)
2 tablespoons vegan butter (I used Earth Balance)
2 1/4 teaspoons (1 packet) active dry yeast
2 tablespoons sugar
1 1/4 teaspoons salt
Vegetable oil (for coating work surfaces)
Additional vegan butter to spread on the crust (optional)
Measure out your soy milk and flour. Whisk 1/2 cup of the soy milk and 3 tablespoons of the all purpose flour together in a small saucepan. Heat over medium heat, stirring constantly, until a thick slurry forms. Remove from heat and transfer the hot slurry to a small bowl to cool.
Put butter in a large bowl.
Heat remaining soy milk until simmering (I do this in a glass measuring cup in the microwave). Pour the milk over the vegan butter. Allow both the milk and butter mixture and the milk and flour slurry to cool, separately, to a lukewarm temperature (I use a thermometer to test--it should be between 105-115 degrees Fahrenheit).
Add yeast and sugar to lukewarm milk and butter mixture and stir to dissolve.
Mix remaining flour and salt. Add dry flour mixture and lukewarm flour slurry to the yeast mixture and stir until the dough begins to pull away from the sides of the bowl.
Lightly oil a work surface and your hands. Knead dough for 10 minutes (do not skimp here!). Form into a ball. Lightly oil a clean, large bowl and put the dough into it. Cover the bowl. Set in a warm place (about 75 degrees) to allow to rise until it almost doubles in size, about an hour.
Turn dough onto an oiled work surface and form into a log. Place in oiled loaf pan and cover loosely with lightly oiled plastic wrap. Set in a warm place and allow to rise until it rises about an inch above the top of the loaf pan (usually about an hour to 90 minutes). Toward the end of rising time, preheat oven to 350 degrees.
Bake for 30-35 minutes, until the loaf is golden brown and sounds hollow when tapped on the bottom. Immediately turn out onto a wire rack and allow to cool completely (this is part of the cooking process so resist the urge to cut into it no matter how nice it smells). If you like, you can brush the top of the hot loaf with melted vegan butter (this softens the crust and also tastes wonderful; I do not always do this, though, and it's fine to skip this step). When totally cool, you can slice it. This bread will remain fresh at room temperature for about 4-7 days, but if you need it to last longer you can refrigerate or freeze it. Note that refrigerated or frozen bread will lose a little of its moisture, but it still tastes good to me.


Homemade bread is the BEST bread! I've always wanted to get into it and the cold weather is the perfect time. I have to try this recipe, it looks delicious! Thanks for sharing!
ReplyDeleteCold weather really is the time to do it! I don't know if I can bring myself to bake bread in the summer--I think I'd have to time it so it goes in the oven when the sun goes down. We'll see. For now I really appreciate it. It's not that involved, really, you just have to be home to prod it occasionally. And it really has helped me spend less on groceries.
DeleteOh wow, that loaf looks so beautiful! I think I will have to try this technique, I have never seen anything like it.
ReplyDeleteI hope you find it as delightful as I did!
DeleteVacation days when you get to play in the kitchen are the best! This is so impressive...! Such an interesting technique to make the bread. I’ve not done much bread baking myself although i have made the “no knead” bread made famous in the NY times a few times with great success- though they certainly didn’t stay soft this long.
ReplyDeleteThe smell of baking bread is almost as wonderful as a slice of it warm!
Ttrockwood
Yes, the smell is amazing! I really wanted to find a way to bake bread that would make life easier, not harder, so I only wanted to bake it once a week (I tend to go through one loaf per week). So this was a great find on my bread-baking quest.
DeleteOooh, your homemade bread looks incredible! That's so great that you found a method that works for you!
ReplyDeleteThanks! It still feels like I'm playing mad scientist but it actually does work.
Delete